
Sex Doll Blog
The DIY Guide to Fixing a Broken Sex Doll Joint
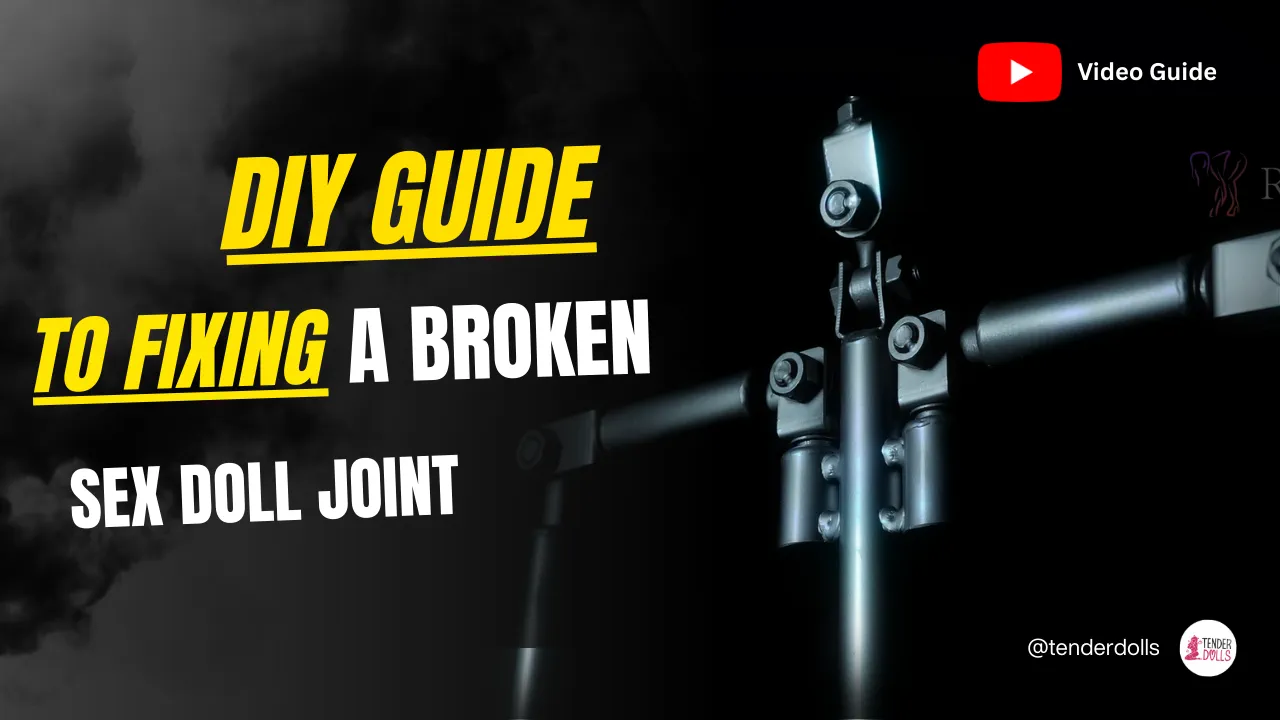
A DIY Guide to Fixing a Broken Sex Doll Joint
Hearing a disconcerting click or feeling a sudden looseness in your doll’s knee, ankle, or wrist can be alarming. But a broken joint is often one of the most repairable internal problems. It’s usually not the entire metal joint that’s broken, but a single bolt or pin that has snapped.
This guide will walk you through a DIY repair, inspired by a common method where a long incision is made to access and replace a broken bolt. This is an advanced, invasive procedure that will void your warranty. If you are not comfortable with this, seeking a professional repair service is the safest and highly recommended option.
What You’re Actually Fixing: The “Broken Joint” Explained
Most doll skeletons are made of stainless steel with joints held together by bolts and pins. A “break” is typically one of these bolts shearing off from stress.
Before you start, it’s crucial to understand what you’re looking for inside. We recommend watching a video that shows how these skeletons are built and function.
There are two main types of joint failure:
-
Looseness: Often caused by a loose screw (movement in one direction) or a broken weld (wobbly movement in multiple directions).
-
Fracture: A bolt or pin snaps. This is what we’re addressing in this guide. Leaving broken metal fragments inside can tear the TPE or silicone from the inside out, making the problem worse.
Your Repair Toolkit: Gather This First
Using the wrong materials can ruin the repair.
-
Replacement Bolt/Pin: The best option is a genuine part from the manufacturer. If not, you’ll need to extract the broken piece and find an identical match at a hardware store.
-
The Correct Adhesive (This is Critical):
-
For TPE Dolls: You need TPE glue or a TPE welding solvent. This chemically fuses the material back together.

-
For Silicone Dolls: You need a platinum-cure silicone adhesive.
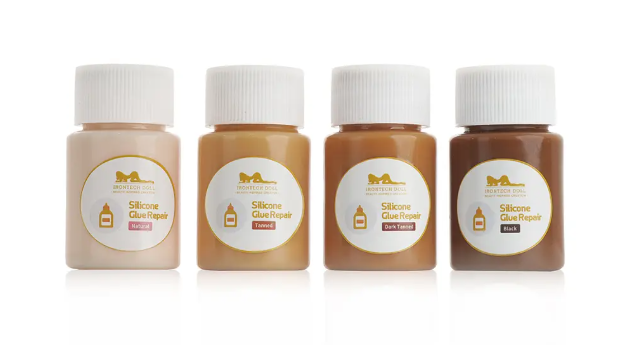
- Tenderdolls recommends getting the exact TPE/Silicone glue from the manufacturer that you’ve purchased your doll from. Please leave us a message in live chat or contact us at [email protected] for help sourcing the correct glue.
-
-
Essential Tools:
-
A sharp, fine-point blade (hobby knife/box cutter).
-
Needle-nose pliers and/or a small hex key set.
-
Rubbing alcohol and lint-free cloths.
-
A spatula or flat tool for glue.
-
Duct Tape or strong medical tape (for holding the seam closed).
-
The Step-by-Step Repair: A Minimally Invasive Approach
This method follows the principle of making a targeted incision to access the damage, as shown in your video example.
Step 1: Diagnose and Mark the Cut
Identify the exact joint. Carefully feel for where the break is. Once located, use a marker to draw a straight line on the skin directly over the joint. The cut only needs to be long enough to comfortably work on the joint—often 6-8 inches for a knee.
Step 2: Make the Incision
Take your time. Using a sharp blade, make a slow, shallow cut along the line. Your goal is to cut through the skin but not dig deep into the underlying foam. You are creating a flap to peel back.
Step 3: Access and Replace the Broken Part
-
Gently peel back the skin to expose the joint.
-
Use needle-nose pliers or a hex key to carefully remove the broken bolt.
-
Insert the new, identical bolt and tighten it securely, but don’t over-tighten and strip the threads.
Step 4: Seal the Incision (The Most Important Step)
-
Clean Thoroughly: Clean both sides of the cut with rubbing alcohol. Any dust or oils will prevent a proper seal.
-
Apply Glue: Use a spatula to apply a thin, even layer of your TPE glue or silicone adhesive to both sides of the cut.
-
Close and Secure: Carefully press the cut closed, aligning the edges perfectly. Excess glue will squish out; wipe it away.
-
Immobilize with Tape: Wrap duct tape firmly around the entire length of the seam. This acts as a clamp, holding it shut while the glue cures.
Step 5: Wait Patiently
Follow the adhesive’s cure time, which can be 24-48 hours. Do not remove the tape or stress the joint until it’s fully cured.
Step 6: The Final Touch
Once cured, remove the tape. You will have a visible seam line. If it’s in a visible area, you can gently sand it with fine-grit sandpaper (600+) and use alcohol-based makeup to blend it.
For more details on how to repair a cut in a sex doll’s skin, click here.
Material Matters: TPE vs. Silicone
The success of your repair hinges on using the right adhesive for your doll’s skin material.
| Aspect | Thermoplastic Elastomer (TPE) | Silicone |
|---|---|---|
| How it Bonds | Chemical fusion (“welding”) the material. | Forms a flexible, elastic bond. |
| Best Adhesive | Specialized TPE solvent/glue. | Specialized silicone adhesive (e.g., Sil-Poxy). |
| Key Tip | Clean with alcohol. Press edges for 30+ mins. | Clean with alcohol. Cure for 6-24 hrs undisturbed. |
Using the wrong glue (like superglue on silicone) will result in a weak, brittle bond that fails.
Prevention is Better Than Cure
Avoid future repairs with these simple habits:
-
Handle with Care: Lift your doll by the torso, not the limbs or head. Use three points of contact for support.
-
Pose Mindfully: Don’t leave your doll in extreme, stressful positions for long periods. Return the joints to a neutral, relaxed pose for storage. See our How to Safely Pose Your Sex Doll (Without Damaging the Joints) guide.
-
Store Properly: Keep her lying flat on a soft surface or hanging in a cool, dark place away from sunlight. You can find storage tips on our How to safely store a sex doll guide.
When to Call a Professional
If the damage is too severe, you lack the tools, or you’re just not confident, stop. Professional repair services can help you. In rare cases the damage will require welding skills and equipment. Please contact us and provide pictures and video of the damage, we will assist you and contact the manufacturer on the best way to approach the repair.
Conclusion
Fixing a broken sex doll joint is a high-level DIY task. By understanding the skeleton, using the right tools, and following a careful, methodical process, you can restore your doll’s functionality. Remember, patience and preparation are everything. If you feel unsure at any point, there is no shame in contacting a professional. Your doll’s longevity is worth it.
Want to read more learn more about how to correctly take care of your doll?
Please check our Tenderdolls Sex Doll Care Guide